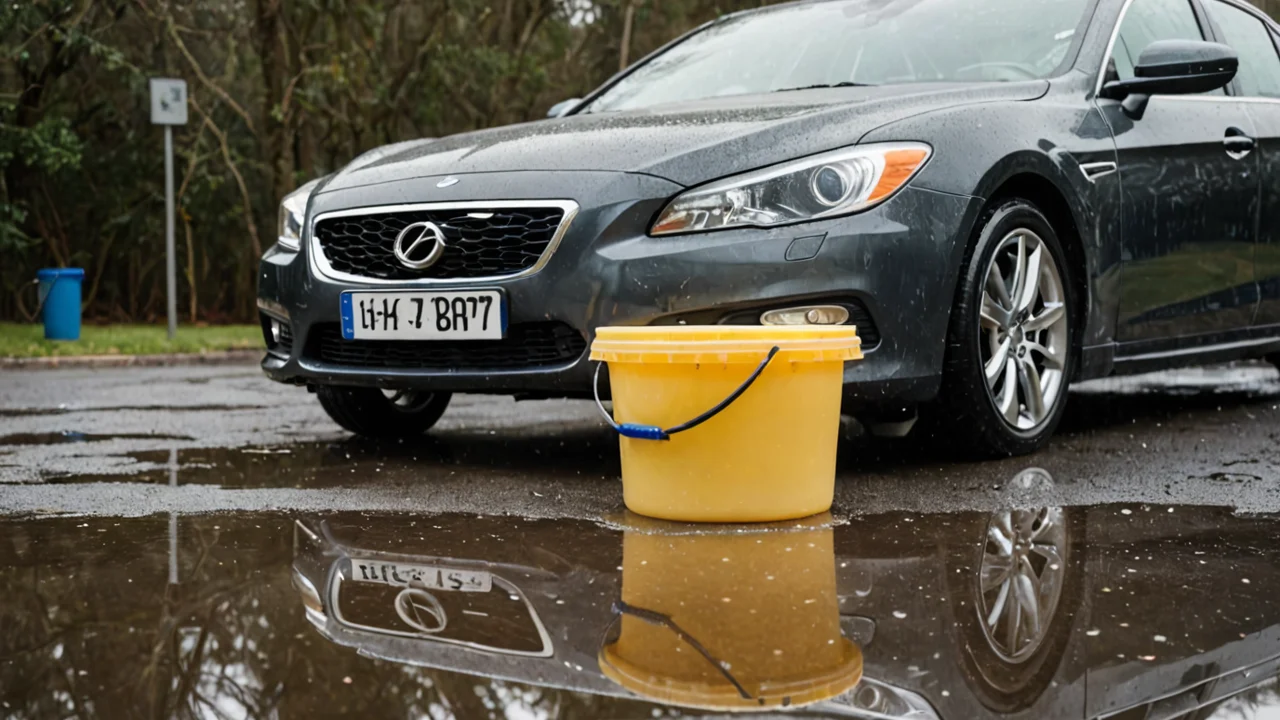
Washing a car is a sequence of decisions, not a single chore: what you remove first, what you put on the paint, what touches it, and how often you do any of it. Get the order right and a weekly wash takes well under an hour with no swirl marks. Get it wrong — a dry wipe here, a dirty sponge there — and you grind grit across the clearcoat every time, which shows up months later as a haze of fine scratches under direct sun. The rest of this page is the whole picture: the wash itself, the chemicals, the touchless alternative, wheels and tires, the things that go wrong, and what all of it costs you in time, money, and paint.
The two-bucket wash, and why the second bucket is the whole point
Use two buckets: one with soapy water and a clean wash mitt, one with plain rinse water and a grit guard at the bottom. Dip the mitt, wash one panel, then rinse the mitt in the plain bucket before reloading it with soap. The second bucket exists to drop grit before it goes back on the paint, and a grit guard — a plastic grate that sits at the bottom of the bucket — keeps that grit from swirling back up into the mitt.
Work top to bottom and in straight lines rather than circles, because scratches you can't avoid are less visible when they follow the panel's lines. Do the roof, glass, and upper panels first, then the sides, then the rocker panels and bumpers last. Those lower areas collect the most road film and brake dust, and you don't want that material on a mitt that's about to touch the hood. Rinse the whole car before you start washing at all, so the loosest dirt goes down the drain instead of into your mitt.
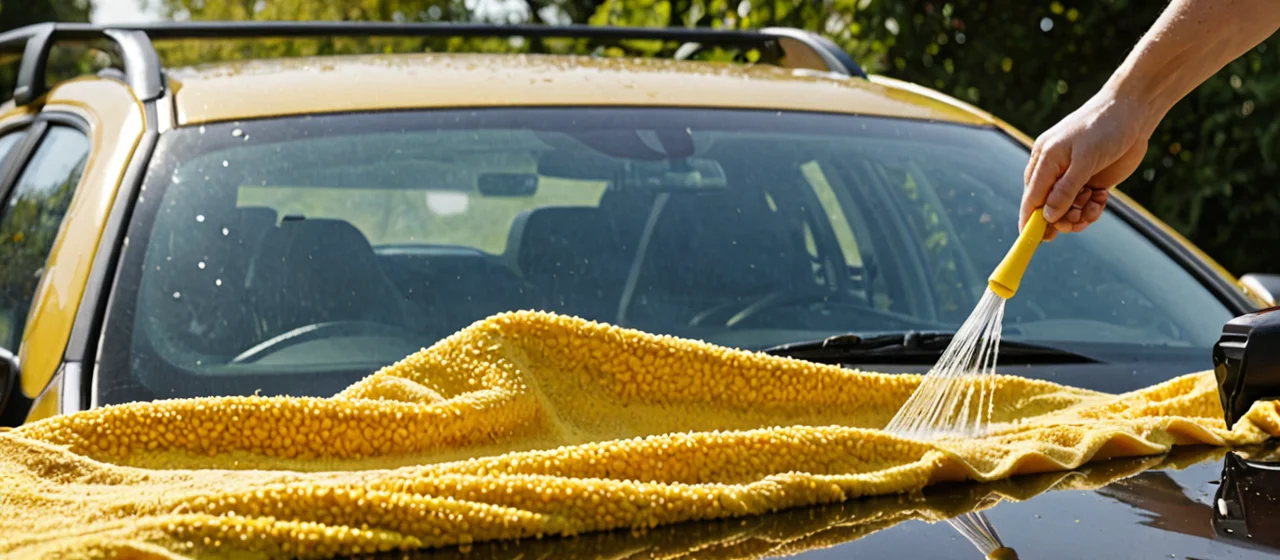
The mitt itself matters more than the soap. Chenille microfiber mitts and dense plush microfiber wash pads trap grit in their pile instead of dragging it across the surface. A sponge is the wrong tool — it holds particles on the surface where they do damage, and it doesn't release them in the rinse bucket. When a mitt starts to feel heavy or gritty, retire it to wheels and door jambs.
The trade-off is time. A proper two-bucket wash on a mid-size car runs longer than a bucket-and-hose splash, and you need to keep both buckets clean and topped up. If you're washing in direct sun or on hot paint, the soap dries before you can rinse it, and dried soap leaves a film you then have to chase. Work in shade or early morning, do one section at a time, and keep the hose ready to knock down any panel that starts to dry.
Soap, shampoo, and what "wax" is actually doing
Use a dedicated car wash shampoo, not dish soap. Dish detergent strips wax and sealant along with the dirt, and it's designed to cut grease off plates, not to leave a lubricating film between a mitt and paint. A good shampoo is slick, rinses clean, and doesn't leave a residue that interferes with whatever you apply afterward.
Wax and sealant are not cleaners — they're a sacrificial layer that takes the abuse instead of your clearcoat. A paste or liquid carnauba wax gives a warm gloss and typically needs reapplying every few weeks to a couple of months depending on sun and washing. A synthetic sealant lasts longer and stands up better to heat and detergent, but it looks flatter. Ceramic coatings, applied properly to corrected paint, last years and make washing easier because water and dirt release more readily — but they cost far more, and they don't fix anything underneath them. Coating over swirl marks locks them in.
Apply protection thin, in shade, on cool paint, and buff off before it fully hazes if the product says so. Too much wax doesn't protect better; it just makes removal harder and leaves streaks in panel gaps and trim. A clay bar, used with lubricant, pulls embedded contaminants out of the paint before you wax — run your hand over a clean, dry panel in a plastic bag and you'll feel the grit. Clay only when needed, because it does remove whatever protection was on the surface.
Touchless and automatic washes: what they save and what they cost
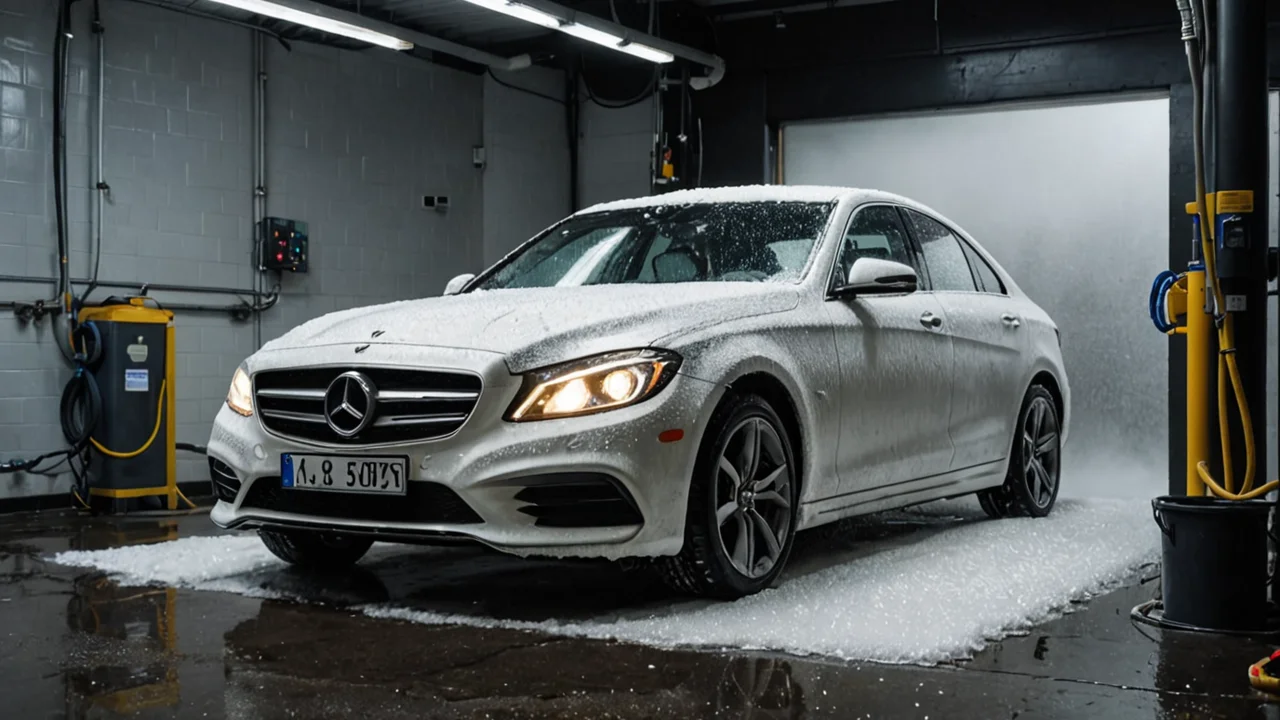
A touchless automatic wash uses high-pressure water and strong chemicals rather than brushes, so it can't install the swirl marks a worn brush tunnel will. What it also can't do is remove bonded contamination — tree sap, tar, industrial fallout, bug residue — because there's no mechanical action. It's the right choice for a car you're about to sell, a winter beater, or a vehicle with a fresh coating you want to preserve. It's the wrong choice as your only wash if the paint has real contamination on it.
Brush tunnels are a different calculation. Modern soft-cloth tunnels in good condition, with clean brushes and proper lubrication, are far gentler than the reputation suggests. The risk is condition: a tunnel with worn or grit-loaded brushes, or one that runs cars through too fast with too little soap, will mar paint. If you use one, use a tunnel that pre-soaks and pre-rinses thoroughly, and avoid the cheapest option that skips those steps. Never use a tunnel right after a coating is applied, and check whether the wash uses a drying agent or blows the car dry — a dirty drying towel at the exit undoes a good wash.
The honest trade-off: automatics save you an afternoon, and they cost you control. You don't know what touched the car before yours, and you can't inspect the mitt. If the paint matters to you, hand washing is the only method where you see every stage. If the car is a daily driver in a salty climate, a frequent touchless wash that knocks the road salt off is worth more to the bodywork than a monthly meticulous hand wash.
Wheels, tires, and the order that keeps you from ruining the paint
Wash wheels first, before the body, with a separate bucket, separate mitt or brush, and separate water. Brake dust contains iron particles and metal shavings, and once those get into your body mitt they scratch paint. Clean one wheel at a time: rinse, spray a wheel cleaner, agitate with a soft brush and a lug-nut brush, then rinse thoroughly. Use a dedicated wheel cleaner matched to the finish — acid-based cleaners etch bare aluminum and shouldn't touch polished or painted wheels.
Tires are rubber, not paint, and they want a stiff brush and a dedicated tire cleaner to pull off the brown bloom that accumulates on the sidewall. Don't use the same brush on wheels and tires; the tire brush picks up grit that will mar a wheel finish. Dress the tires after they're dry, and wipe off the excess so it doesn't sling onto the paint at speed.
While you're at the wheels, check tire inflation pressure. NHTSA says pressure is measured in pounds per square inch (psi) and that the correct figure is listed on the vehicle's tire information placard or in the owner's manual. That placard is the label required on light vehicles showing critical tire information, including recommended inflation pressure and tire size designation — the manufacturer's recommended size shown on the placard required by FMVSS No. 110. Check when the tires are cold, and use the placard figure, not the maximum printed on the tire sidewall. A wash is the natural moment to do it, because you're already crouched at each corner.
Water, sun, and the failure modes that actually damage paint
Hard water leaves mineral spots that etch into clearcoat if they bake on. If your tap water is hard, dry the car promptly with a microfiber drying towel or a filtered water rinse, and don't let it air-dry in the sun. A water spot that's been sitting for a week is no longer a spot — it's a etch that needs polishing out. If you wash regularly and your water is hard, a inline water filter at the hose is cheaper than the polishing.
Sun and heat are the other pair of enemies. Soap dries on hot panels and leaves a film; water evaporates before you can dry it; wax flashes too fast to buff. Wash in shade, in the morning or evening, and never on a hood that's been sitting in the sun. If you must wash in the sun, work one panel at a time and keep it wet until you rinse.
The classic damage is the dry wipe: a microfiber towel or a chamois dragged across a dusty panel with no lubrication. That's how most swirl marks get installed. Rinse first, wash with soap, and only then dry — and use a drying towel that's clean and damp, not bone dry. Bird droppings, bug splatter, and tree sap should come off promptly with a soaked cloth and lubricant, not a fingernail; they're acidic and will etch if left. Tar needs a dedicated tar remover, not scrubbing. And if you drop a mitt or towel on the ground, it goes in the wash pile — don't pick the grit out and keep going.
How often, and what a realistic routine costs you
Most daily drivers need a full wash every week or two, with a rinse of the lower panels and wheels more often in winter or after rain. A car that lives outside under trees needs more frequent attention to sap and droppings; a garaged weekend car can go longer between washes if it's not driven in weather. The interval matters less than the consistency — a car washed every two weeks with a proper two-bucket method stays ahead of contamination, while a car washed once a season needs clay and polish every time.
The routine that holds up: rinse, wheels first with separate tools, two-bucket body wash top to bottom, rinse, dry with a clean microfiber towel, then protection when the paint is cool and dry. Wax every few weeks to a couple of months; sealant less often; a coating, once applied, mostly just needs washing. Budget the time honestly — the wash itself is the short part, and the drying and protection are where the afternoon goes.
The costs are in consumables, not equipment. Shampoo, wheel cleaner, tire dressing, wax or sealant, microfiber towels and mitts that get retired when they load up with grit, and the occasional clay bar. The expensive mistakes are the ones that skip steps: using dish soap, washing in the sun, drying a dirty panel, or coating over uncorrected paint. None of those cost much in dollars; all of them cost you a polishing job later. The cheapest long-term approach is the boring one — separate buckets, clean mitts, shade, and a protection layer you actually reapply.
Rinse-less and waterless washes, and who should not use them
A rinse-less wash is the right method when you have no hose, no shade, or a parking garage that forbids runoff — and it is the wrong method on a car that is genuinely dirty. The product is a concentrated polymer solution mixed into a bucket of water; you soak a plush microfiber towel, wring it so it's damp rather than dripping, wipe a panel in one direction, then dry the residue off with a separate clean, dry towel. The polymer encapsulates dirt so it lifts into the towel instead of being dragged. Waterless products skip the bucket entirely and are for light dust only.
The failure mode is obvious the moment you try it on the wrong car: a damp towel loaded with grit from a road-salted fender drags that grit the length of the door. Pre-treat heavy areas — lower panels, wheel arches, the leading edge of the hood — with a spray of rinse-less solution and let it dwell before the towel touches them. Fold your towel into quarters and flip to a clean face for every panel; a towel that has wiped two panels is done. Expect to use several towels per car, and wash them separately from anything that touched wheels.
The trade-off is real. You save the hose, the runoff, and the drying step, and you spend more on towels and solution per wash, plus more time per panel than a wet wash because you are working deliberately. If your car has caked mud or hasn't been washed in a season, drive to a touchless wash first and rinse-less it afterward.
What to do when the car is too dirty to wash at all
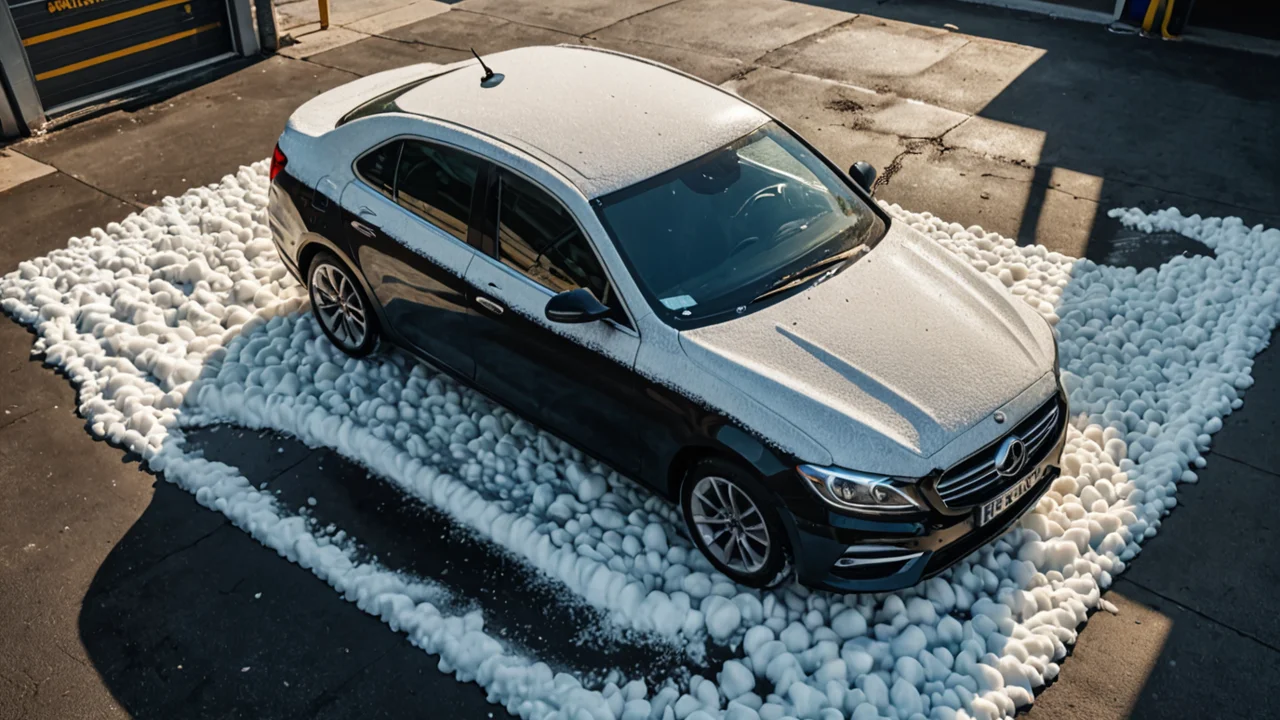
Pre-soak before anything touches the paint. A foam cannon or a pump sprayer of diluted shampoo left to dwell for a few minutes softens road film, bug residue, and the bonded layer that a mitt would otherwise grind in; rinse it off before you start the two-bucket sequence. On a car that has sat under trees or collected a winter of salt, one pre-soak is not enough — do it twice, and accept that the first pass is about removing volume, not achieving a clean finish.
Watch the paint while you work rather than after. If the mitt feels like it's dragging instead of gliding, the panel is still loaded — stop, rinse, and re-soap rather than pushing through, because drag is the sensation of grit under the pile. After the wash, dry a panel and run the back of your hand across it; if it feels like sandpaper rather than glass, the contamination is bonded and needs clay, not another wash.
That last check is also the honest limit of any washing method. Washing removes what sits on the surface; it does nothing for what has bonded into the clearcoat, and no amount of soap, pressure, or repetition will pull it out. If the surface stays rough after a careful wash and dry, you have moved from washing into decontamination, and that is a different job with different tools.